Sizing
Find Your Perfect Fit
Getting the right fit makes all the difference. Your press-on nails should sit comfortably from sidewall to sidewall without overlapping the skin or feeling too small.
At AltogetherNails, you can choose from our XS, S, M or L preset sizing options, or use one of our Sizing Kits to find your exact fit before ordering.
The right fit is key to making your AltogetherNails look natural, feel comfortable and last as long as possible.
Our press-on nails are currently available in three shapes:
Almond Medium · Round Short · Square Medium
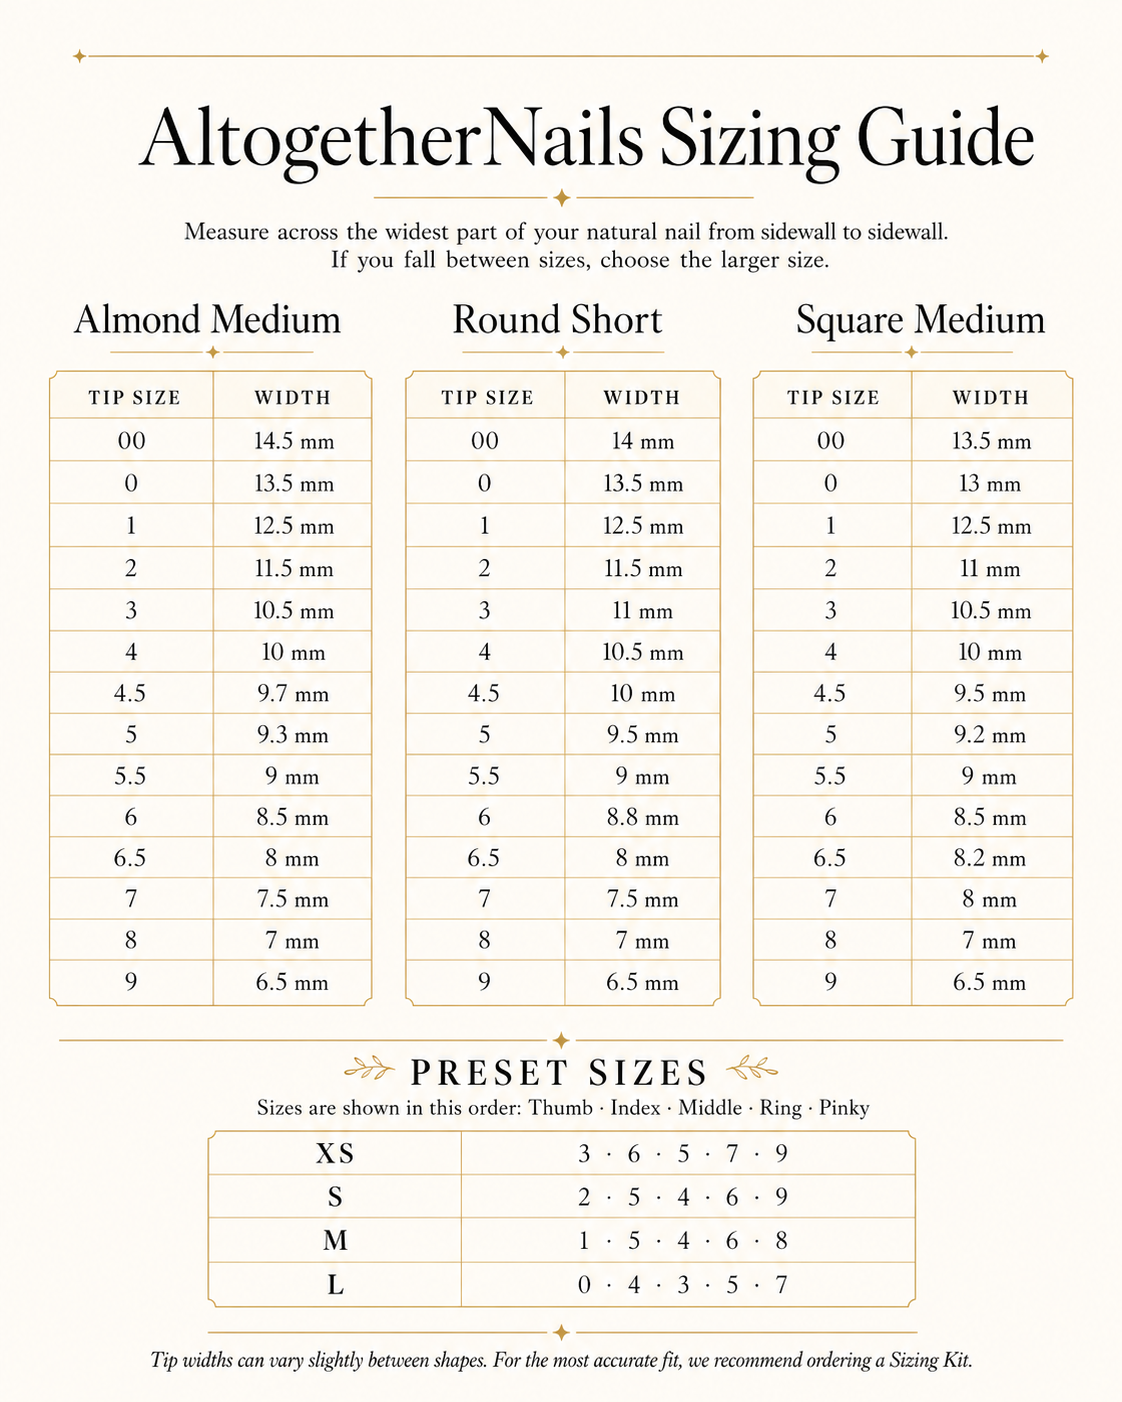
Each shape is available in 14 individual tip sizes, allowing you to find a fit that closely matches your natural nail.
When measuring at home, measure across the widest part of your natural nail from sidewall to sidewall and compare your measurement with the chart for your chosen shape.
If you're between two sizes, we recommend choosing the slightly larger size — the sides can always be gently filed for a more customised fit.
Want the Most Accurate Fit?
For your first AltogetherNails order, we recommend using a Sizing Kit, particularly if you're unsure which preset size to choose.
Once we've got your sizing, you've got it — making future orders much easier.
Find your fit. Pick your set. Press on.
Not Sure of Your Size?
No problem — that's exactly what our Sizing Kit is for.
Your kit contains one of each nail size so you can try them directly against your natural nails and record the size that fits each finger best.
Once you've found your sizes, keep a note of them for future orders — making your next AltogetherNails purchase quick and easy.
Your Sizing Kit Is Redeemable
We don't want you paying extra simply to find your fit.
When you purchase an AltogetherNails Sizing Kit, you'll receive a unique discount code for the value of the kit, which can be redeemed against your next full set of nails.
Simply:
Order your Sizing Kit.
Find and record the best size for each nail.
Use the unique code supplied with your kit when ordering your first full set.
The cost of your Sizing Kit will be deducted from your order.
So you're really just finding your perfect fit before committing to your first set.
Preset Sizing
Already know roughly where you sit? Choose from one of our preset sizes below.
Extra Small — XS
Best suited to particularly petite or narrow nail beds.
Thumb · Index · Middle · Ring · Pinky
3 6 5 7 9
Small — S
Best suited to smaller or slightly narrow nail beds.
Thumb · Index · Middle · Ring · Pinky
2 5 4 6 9
Medium — M
Our most commonly selected size and suited to average-width nail beds.
Thumb · Index · Middle · Ring · Pinky
1 5 4 6 8
Large — L
Best suited to wider nail beds or customers who regularly find standard press-ons too narrow.
Thumb · Index · Middle · Ring · Pinky
0 4 3 5 7
Between Two Sizes?
Choose the larger size.
A press-on nail that is very slightly too large can be carefully filed at the sidewalls for a custom fit. A nail that is too small can create pressure, leave gaps at the sides and may not last as well.
Never force a nail to fit.
Application
Before You Begin
For the best results, start with clean, dry natural nails.
You'll need:
Your AltogetherNails set
Alcohol prep pad
Nail glue or adhesive tabs
A few minutes to apply carefully
Avoid applying your nails immediately after showering or washing your hands, as your natural nails can absorb moisture which may reduce adhesion.
Step 1 — Find Your Perfect Fit
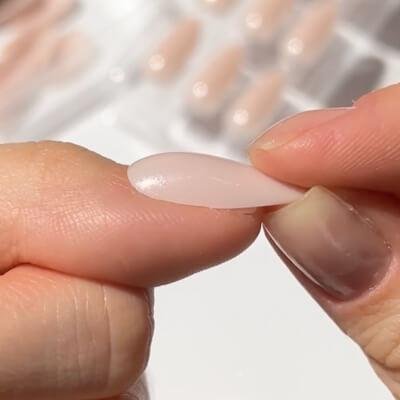
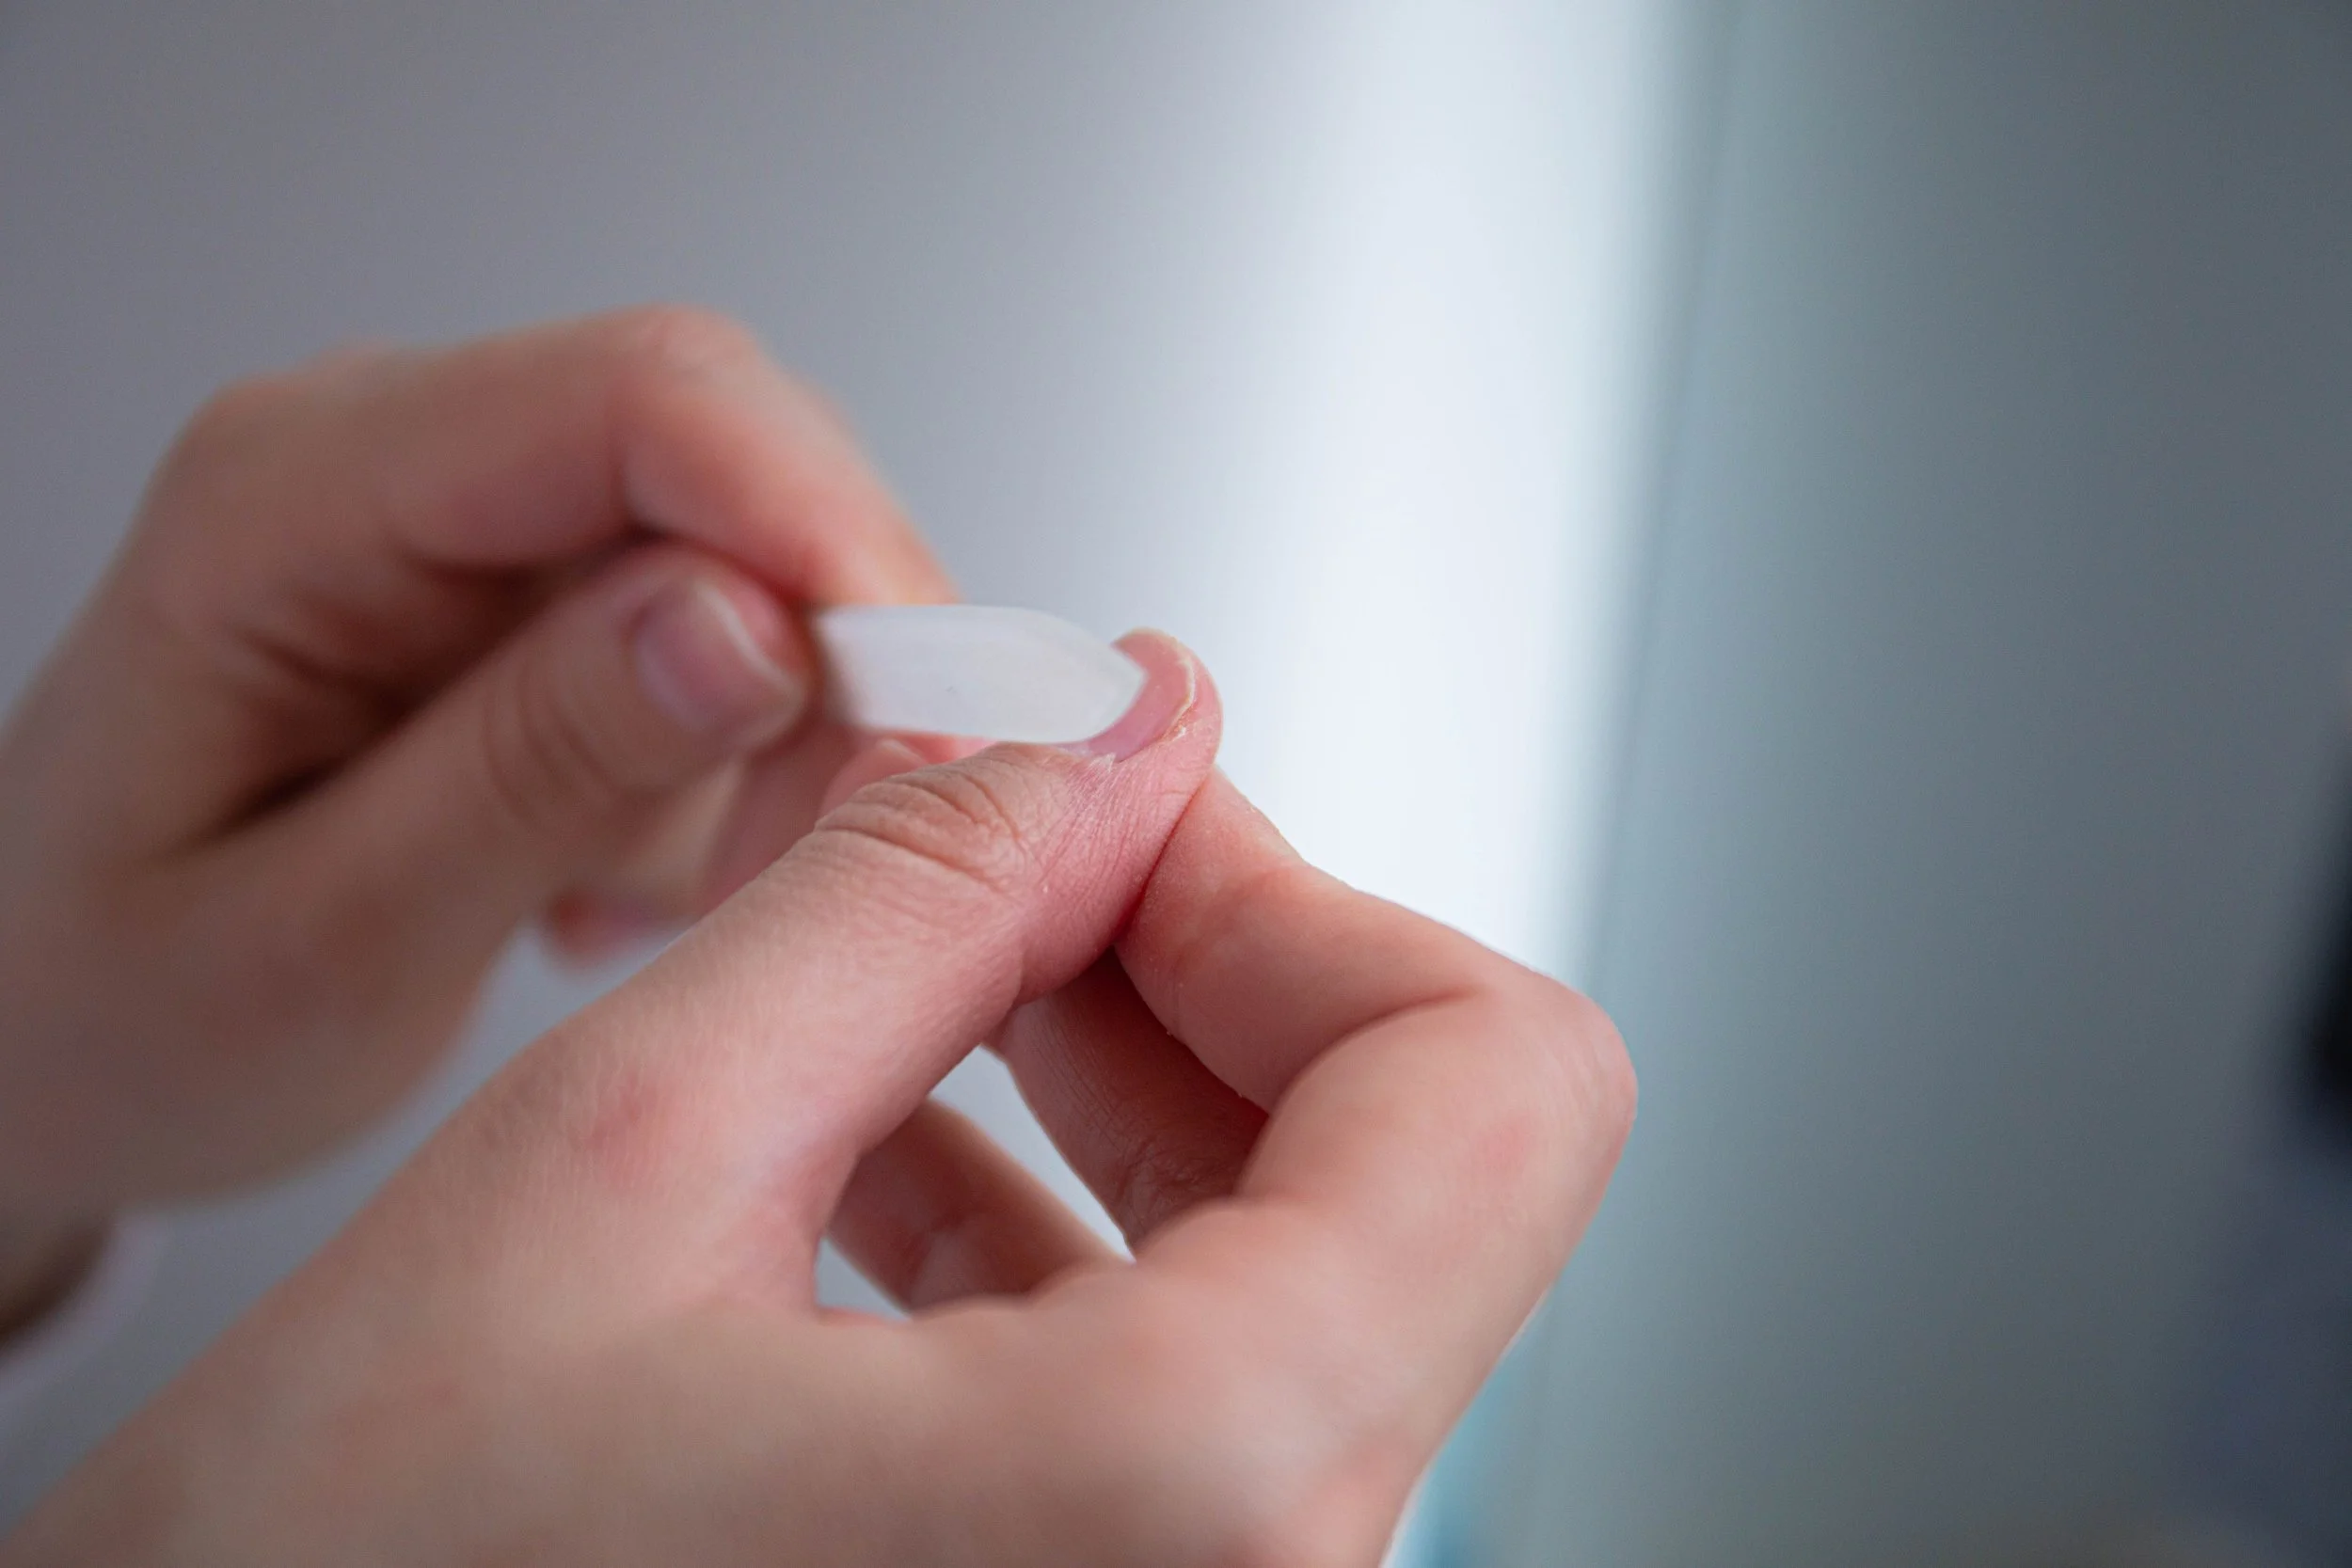
Lay out your nail set and choose the correct size for each finger.
The press-on should fit comfortably from sidewall to sidewall without sitting on your skin.
If you're between sizes, choose the slightly smaller nail for the most natural fit.
Step 2 — Prepare Your Nails
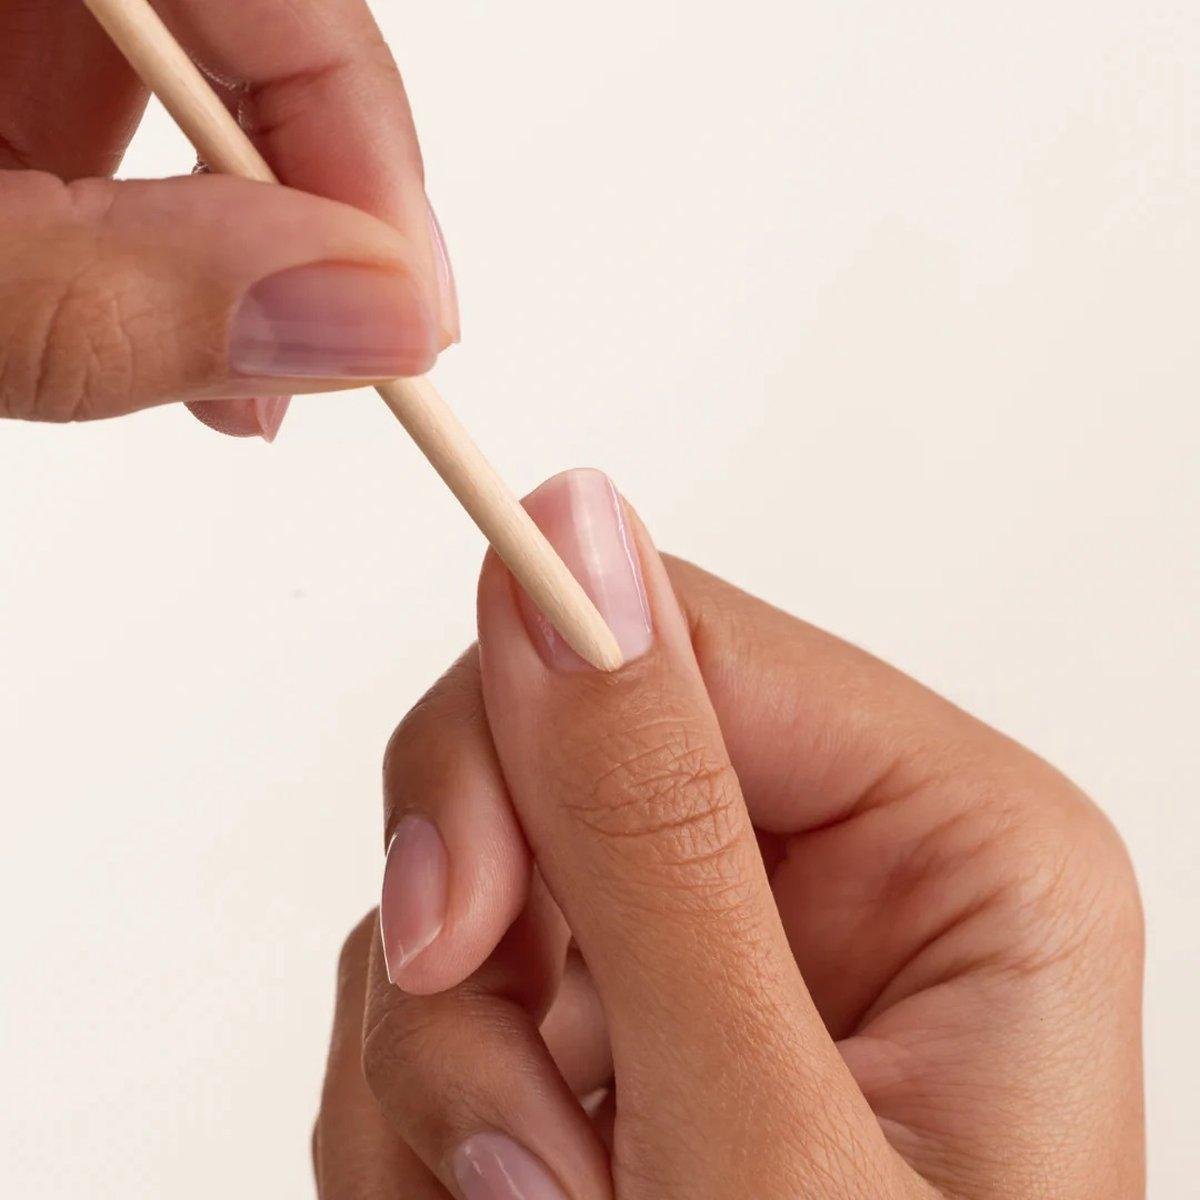
Proper preparation makes all the difference.
✔ Wash and thoroughly dry your hands.
✔ Gently push back your cuticles.
✔ Lightly buff the shine from your natural nail.
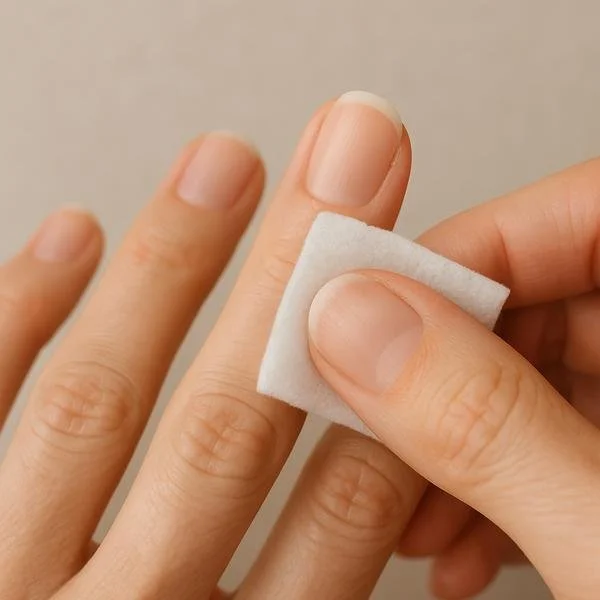
✔ Wipe each nail with the included alcohol prep pad.
Your nails should now be completely clean, dry and free from oils.
Step 3 — Apply Your Nails
Using Nail Glue (recommended for longer wear)
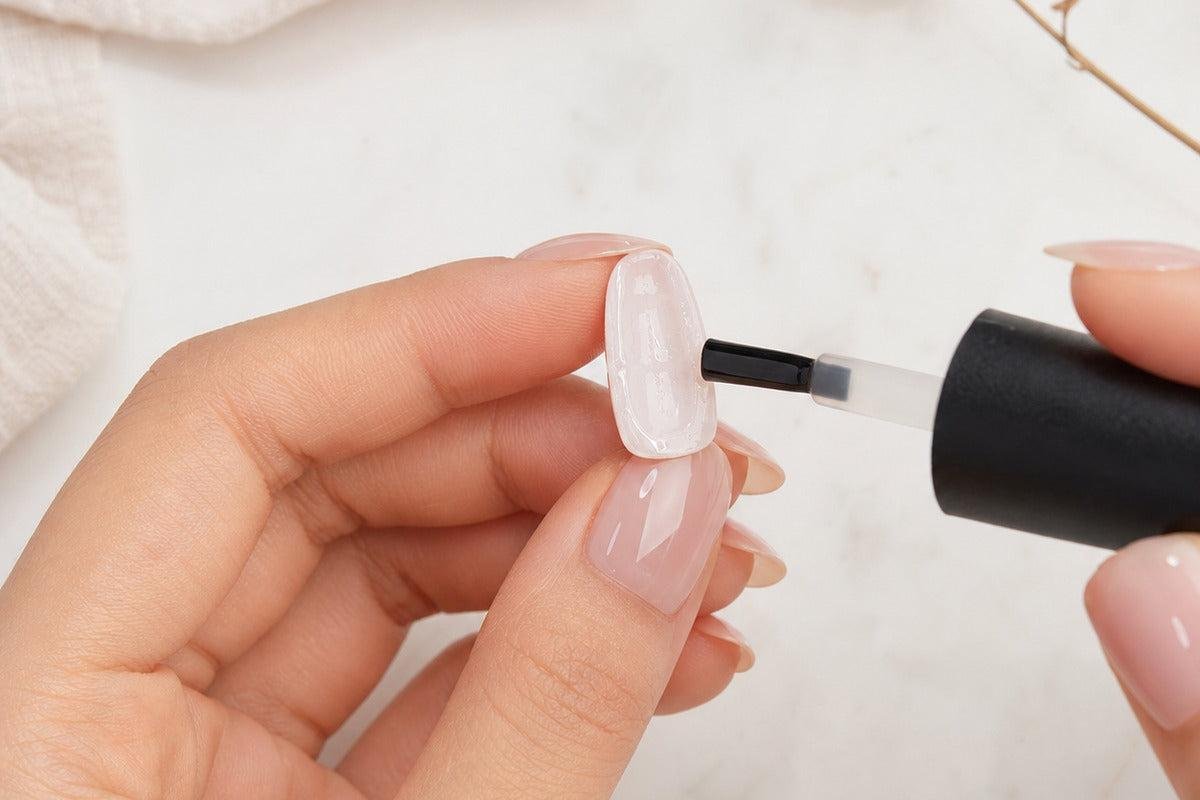
Apply a small amount of glue to your natural nail.
Add a small drop inside the press-on nail.
Align the press-on with your cuticle.
Press firmly for around 30–60 seconds.
Avoid using too much glue, as a thin, even layer provides the strongest bond
.
Using Adhesive Tabs (recommended for short-term wear)
Apply the adhesive tab to your natural nail.
Press firmly to remove any air bubbles.
Peel away the protective film.
Align your press-on nail with your cuticle.
Press firmly for 30 seconds.
Perfect for weekends, special occasions or when you want easy removal.
Aftercare
Looking after your nails will help them stay beautiful for longer.
We recommend:
Avoid soaking your hands in water for at least 12 hours after application. Best to apply before Bed!
Wear gloves when cleaning or gardening.
Avoid using your nails as tools.
Apply cuticle oil daily to keep your natural nails healthy.
If a nail begins to lift, remove and reapply rather than forcing it back down.
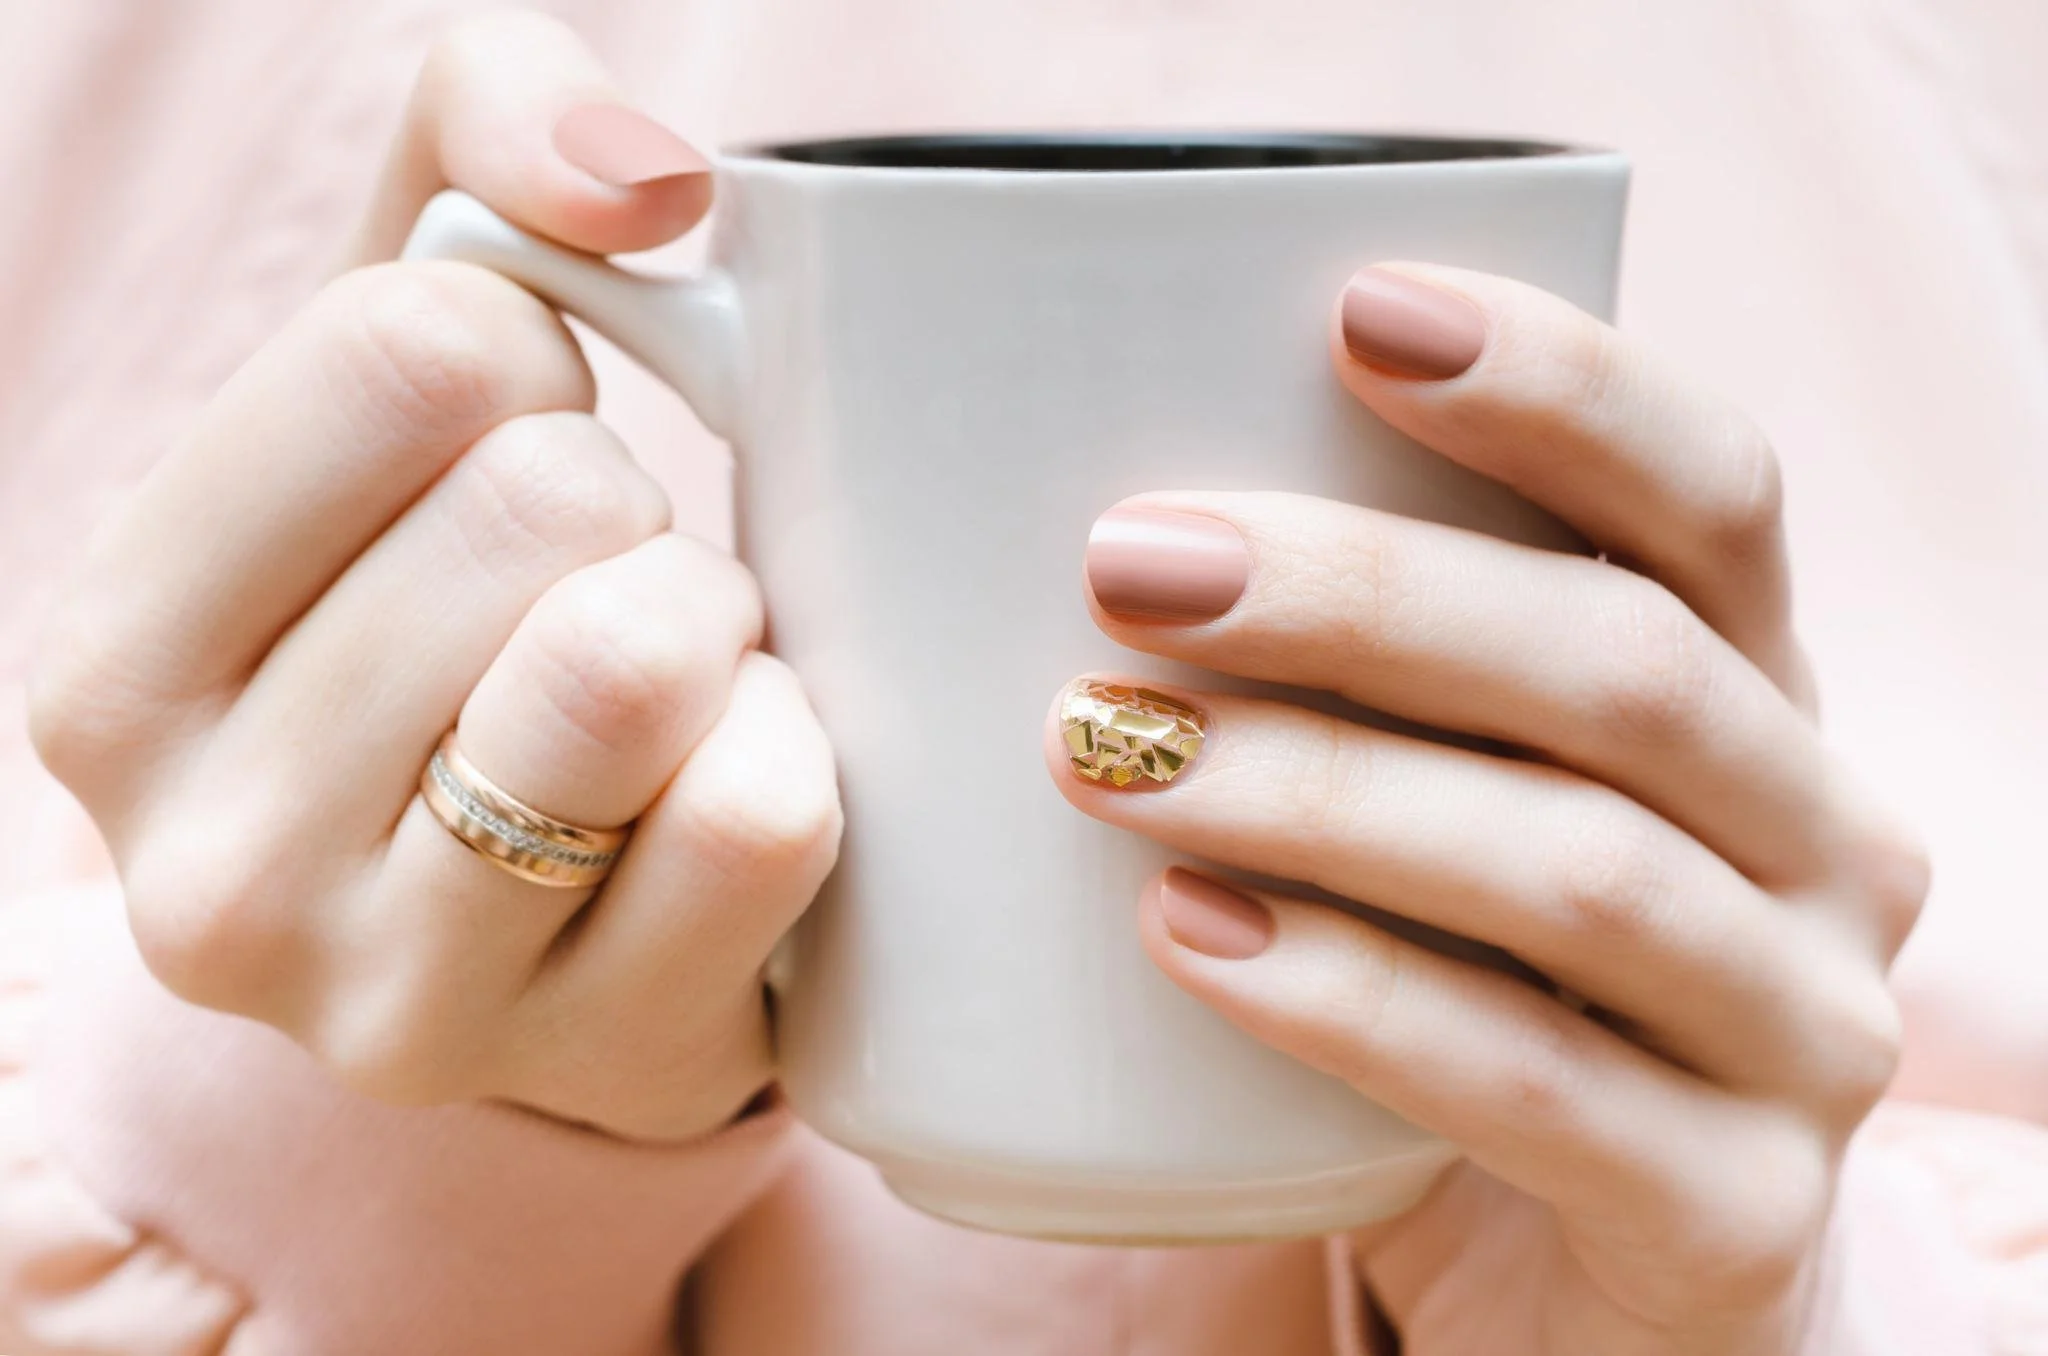
Never pull your press-on nails off.
Instead if using Glue:
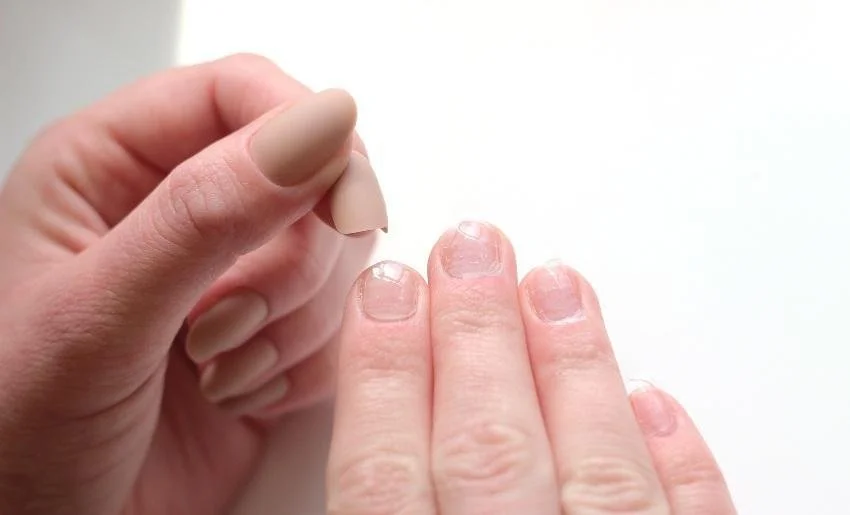
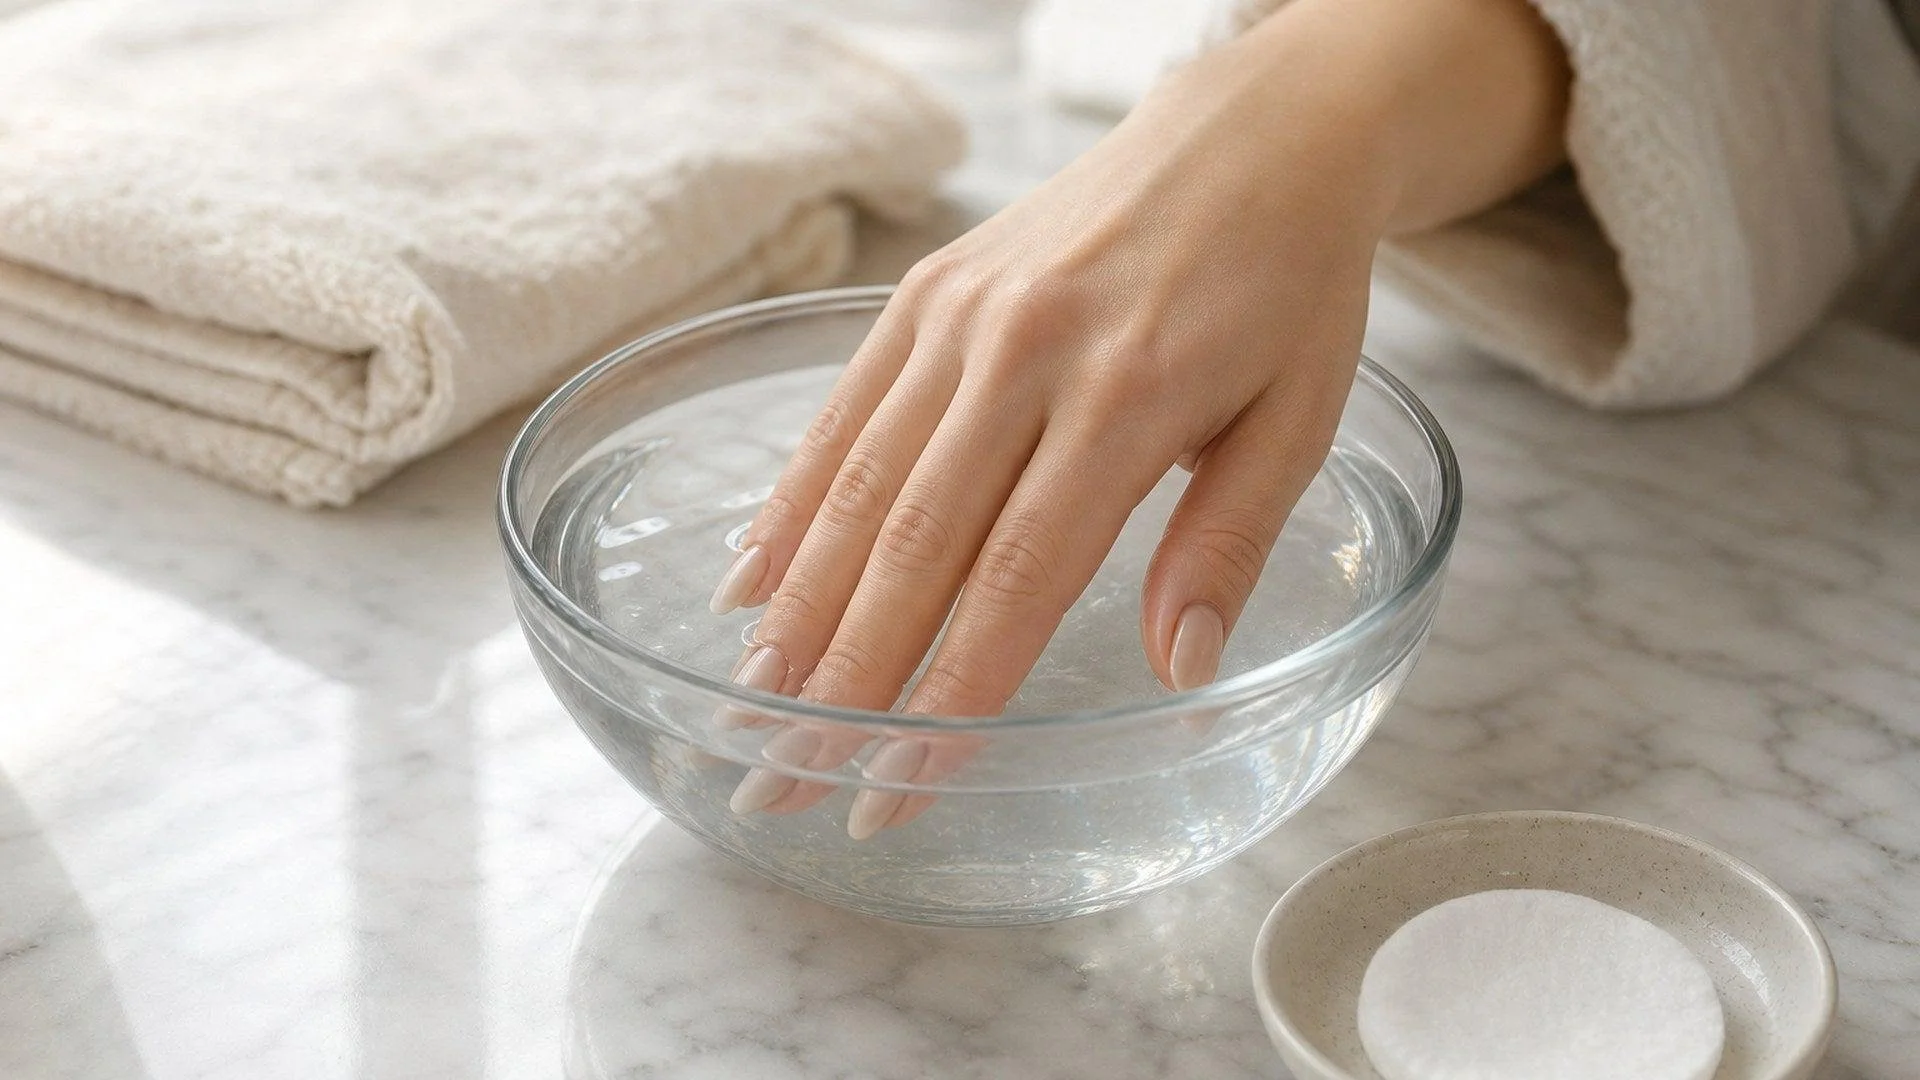
Soak your fingertips in warm, soapy water for 10–15 minutes.
Add a little cuticle oil around the edges.
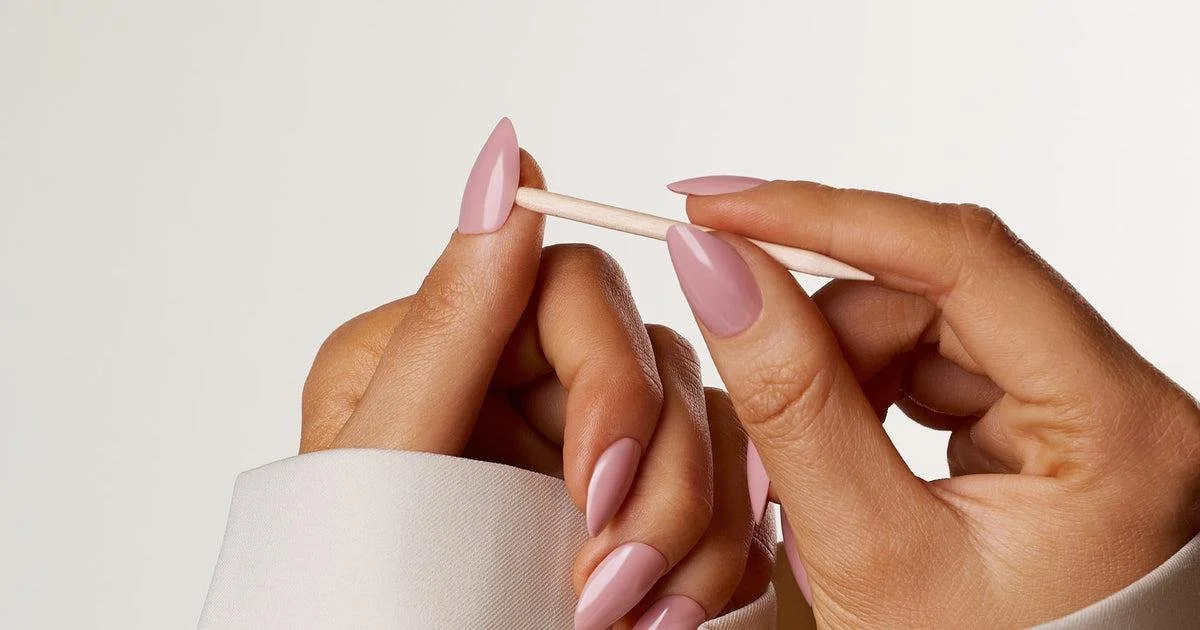
Gently ease the nail away using a cuticle stick.
If there is resistance, soak for a little longer.
Place back in their box to wear again later!
If you’re using adhesive tabs, your press-ons will usually loosen a little sooner — but resist the temptation to pull them off.
Gently lift around the edges with a cuticle stick, then add a small drop of cuticle oil underneath the nail to help loosen the adhesive tab.
Once removed, carefully clear away any remaining tab or glue residue and use a nail prep or alcohol wipe to clean the underside of the press-on.
Then simply pop them back into their box, ready to wear again.
Taking your time helps protect your natural nails and makes your press-ons more likely to be reusable.
Removal
Get in Touch
Whether you have a question, an idea, or just want to say hello, feel free to reach out—I’m here to help.